
About a year and a half ago my sister-in-law, Tiffany, asked me to paint a tree on her wall. It was just the tree, no leaves and she was going to hang pictures of her family on it. I did it and it turned out really well. She really loved it and gets compliments on it all of the time. Since painting the tree I have thought about what I would do for my house. After talking with Jeff we decided on a cherry blossom tree. I did some searching and found some trees we liked. I searched more and more and after collecting lots of trees these were my favorites:

I love the branching and the birds. I love the petals and flowers floating in the wind. I decided I didn't need to have a trunk to my tree, but rather just the branching.

It was time to get started on my blue wall. Before painting I taped the outline of the branches. I wanted Jeff's input too so this made it easier for him to change things before it was done.
This was my first outline where I gave a general idea of where I wanted the branches. I taped out more of the branches on the right than the left side.

After showing Jeff I adjusted (and he adjusted) the tape and added in more branching. The rectangle is going to be some decorative doors we will be hanging on the wall. We wanted to know how much would be hidden by the doors so it helped me map out the branches.

Then it was time to paint! It was pretty easy to slowly peel a section of tape off and fill in with a dark brown as I peeled.
After I started I found that the sharper the edges the better the branches were. I also added some knots to the branches to help them feel more real.

The flowers were fun to do. I made a few templates of what I wanted the flowers to look like. Then I used craft sponge to cut out the shapes and then sponge on the different colored flowers. I didn't care for the sponge texture so I went back and filled in the flowers so they were solid. The sponges made it so I could get the flowers up quickly and also keep them the right size and shapes I wanted :).

The last thing to add to the tree was the birds. I let each kid pick a bird and we found a good image online to print and cut out to use to make into an outline.
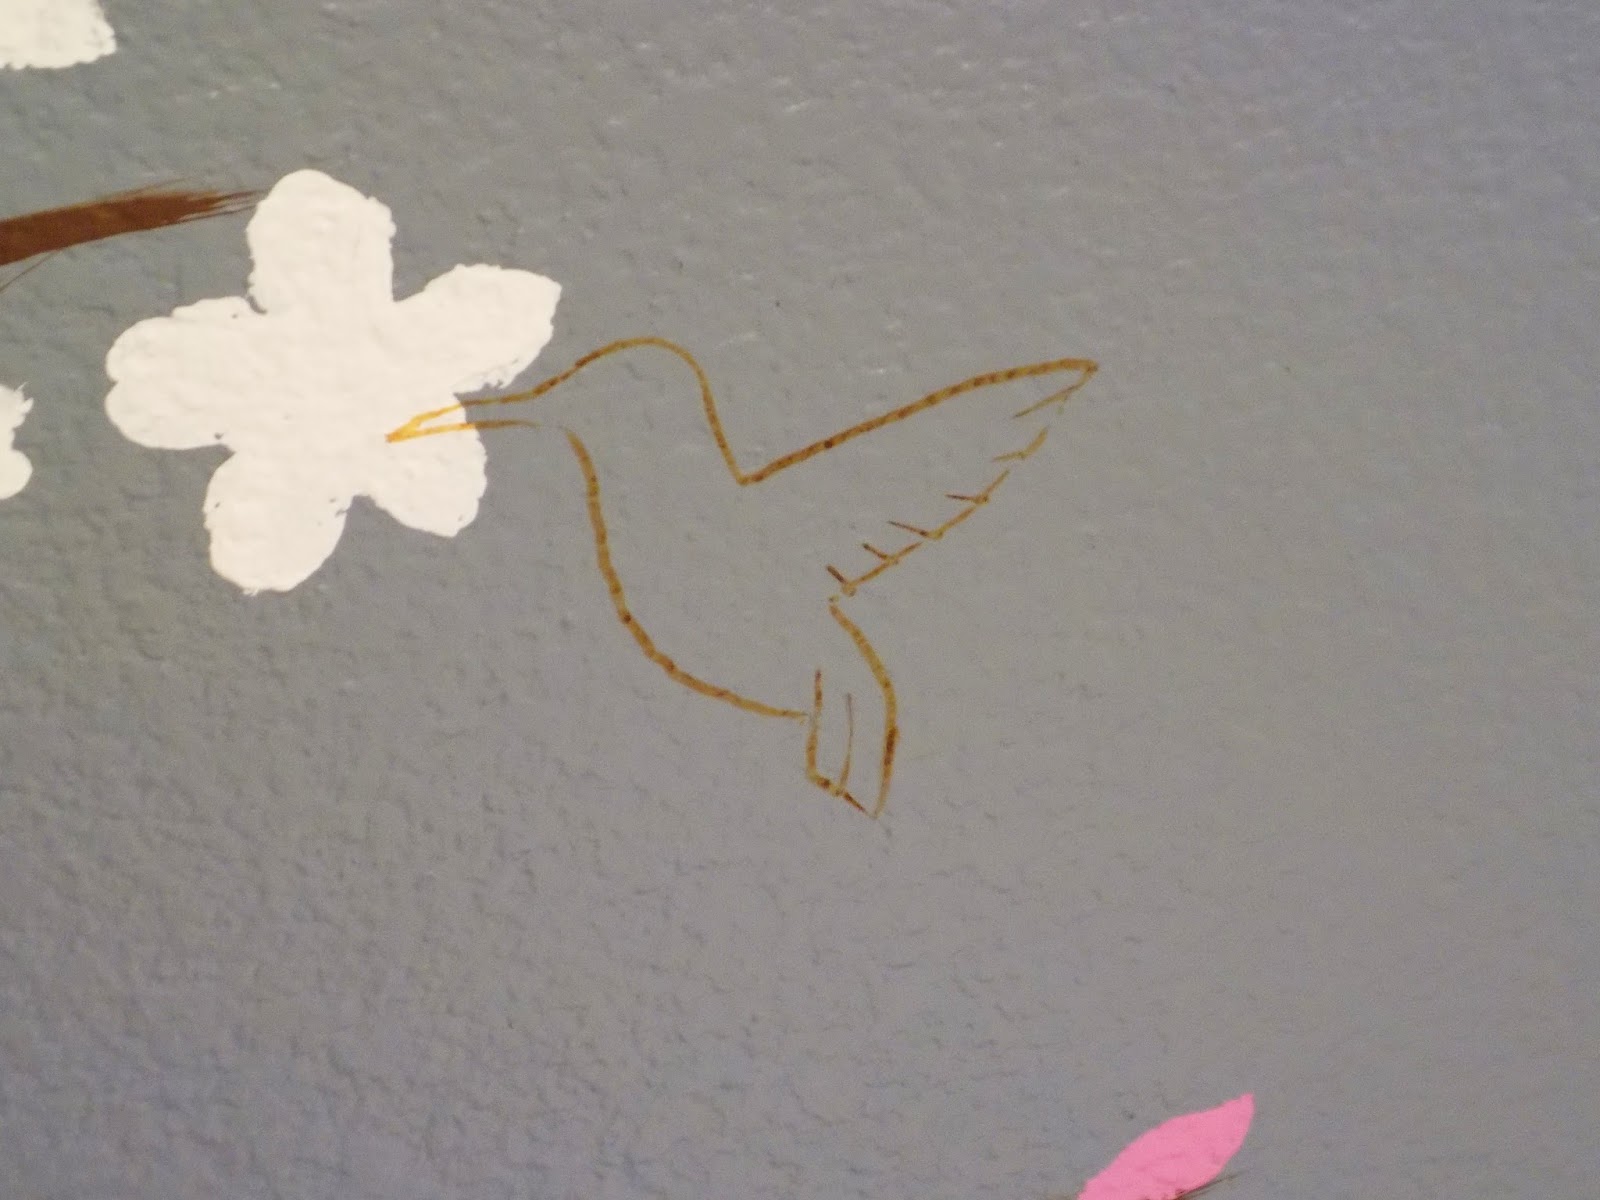
Here are Jeff and my love birds :). I really wanted them to be the biggest birds so once they were on the wall I still adjusted their size a little!

Waiting to be outlined. Grant's Crested

A little closer look at the left side. I really love the way it all turned out!

So here is the finished wall. Now, if you have been paying attention you will notice that this one is not the same as some of the earlier pictures...

I actually took out a branch on the right side. It seemed like there was too much on the wall. Once I took out that branch it really balanced out! I'm glad I made my tree wall and I'm really happy with how well it turned out. I'm looking forward to getting the doors on the wall to see how awesome it all looks once it's officially finished!
Yay for cherry blossoms all year long!


No comments:
Post a Comment